Whether it’s a lip, ear, dermal, bellybutton, or any piercing, a healthy aftercare routine is crucial if you want it to heal properly and avoid scarring. In this guide, we’ll break down everything you need to know about piercing aftercare—the dos, don’ts, and all the best tips to keep your new piercing happy and healthy. Follow these tips and there shall be no scars in your future.
Piercing Aftercare Best Practices
Piercing aftercare can be simple. The trickiest part is sticking to a good aftercare routine. But consistency is key, and with the right habits, you’ll have a beautifully healed piercing that lasts.
Leaving your piercing to fend for itself in the first weeks is just diabolical. You’ll want to focus on three key things to make sure it heals up right:
- Keep it clean
- Keep it dry
- Keep it protected
Nail these, and you’re already on the right track. To learn how, check out all the best tips for piercing aftercare here.

But with so many different types of piercings, how do you know what works best? After all, caring for an ear piercing isn’t the same as caring for a lip piercing. Let’s break it all down and go over the best aftercare tips for some of the most popular piercings.
Identifying Scarring Around Your Piercing
Sometimes, but not all the time, a good aftercare routine isn’t enough to prevent a scar. But before you panic, first figure out which type of scar is brewing around your piercing.
Keloids vs. Hypertrophic Scars
Keloid, hypertrophic, or atrophic scars can form around a piercing despite an adequate aftercare routine. More on atrophic scars a little later, but first, what’s the difference between keloids and hypertrophic scars?
- Keloids — Firm, raised scars that are darker than the skin around them and grow over time. Developing keloid scars is usually influenced by genetics. Unlike other types of piercing scars, keloids usually require medical intervention to get rid of—check out our article that gives more detailed info on scarring here.
- Hypertrophic scars — Red, raised, itchy scars that develop soon after a piercing.
Atrophic Scars
Atrophic scars differ from keloids and hypertrophic scars in that they appear sunken instead of raised on the skin. This is due to the skin not healing correctly, resulting in tissue deficiency around the scar.
The bad news is, keloids, hypertrophic, and atrophic scars can develop around any piercing. The good news? It’s not inevitable. With the right care, you can keep your piercing looking smooth and healthy.
Scar Prevention Techniques
The basics of piercing aftercare are pretty much the same no matter what type of piercing you have—keep your hands clean and avoid tugging on your jewelry. A little care goes a long way in making sure your piercing heals smoothly without any scarring.
Unfortunately, any piercing in any location can scar. But it doesn’t have to! How can you prevent scarring around your piercing? Let’s find out.
Lip or Tongue Piercings
When it comes to lip and tongue piercings, chomping and chewing are two big no-nos. Chewing can be tricky (because, well, you gotta eat), but being extra careful while you chew is key to avoiding irritation or damage.
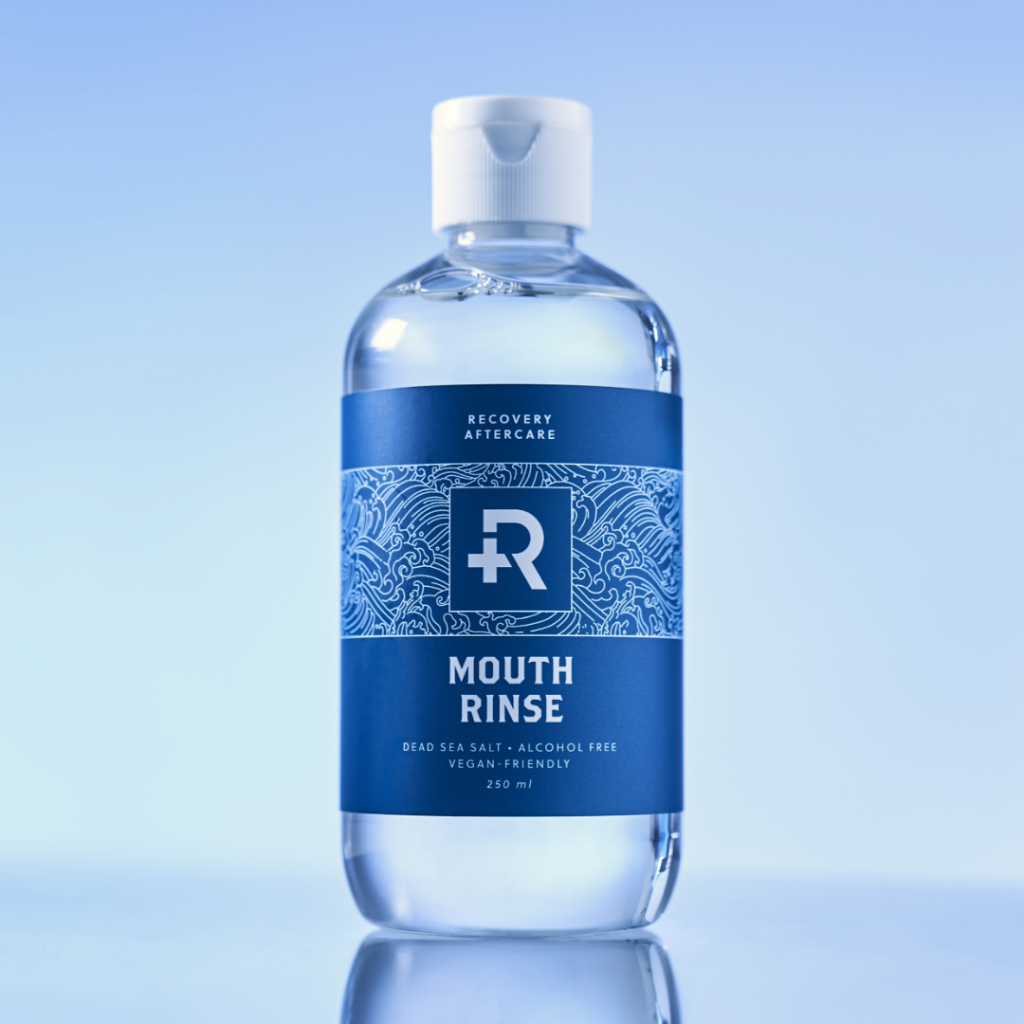
On top of that, good oral hygiene is a must! Brush regularly and rinse with a specialized mouthwash, like Recovery Aftercare Sea Salt Mouth Rinse, to keep your piercing clean and happy.
As for chomping, leave your lip piercing alone! That means no playing with it using your tongue or teeth. It might be tempting, but trust us, keeping hands (and teeth) off will help it heal much faster. For a deeper dive into lip and tongue piercing care tips, check out “Your Guide to Lip Piercing Healing & Aftercare.”
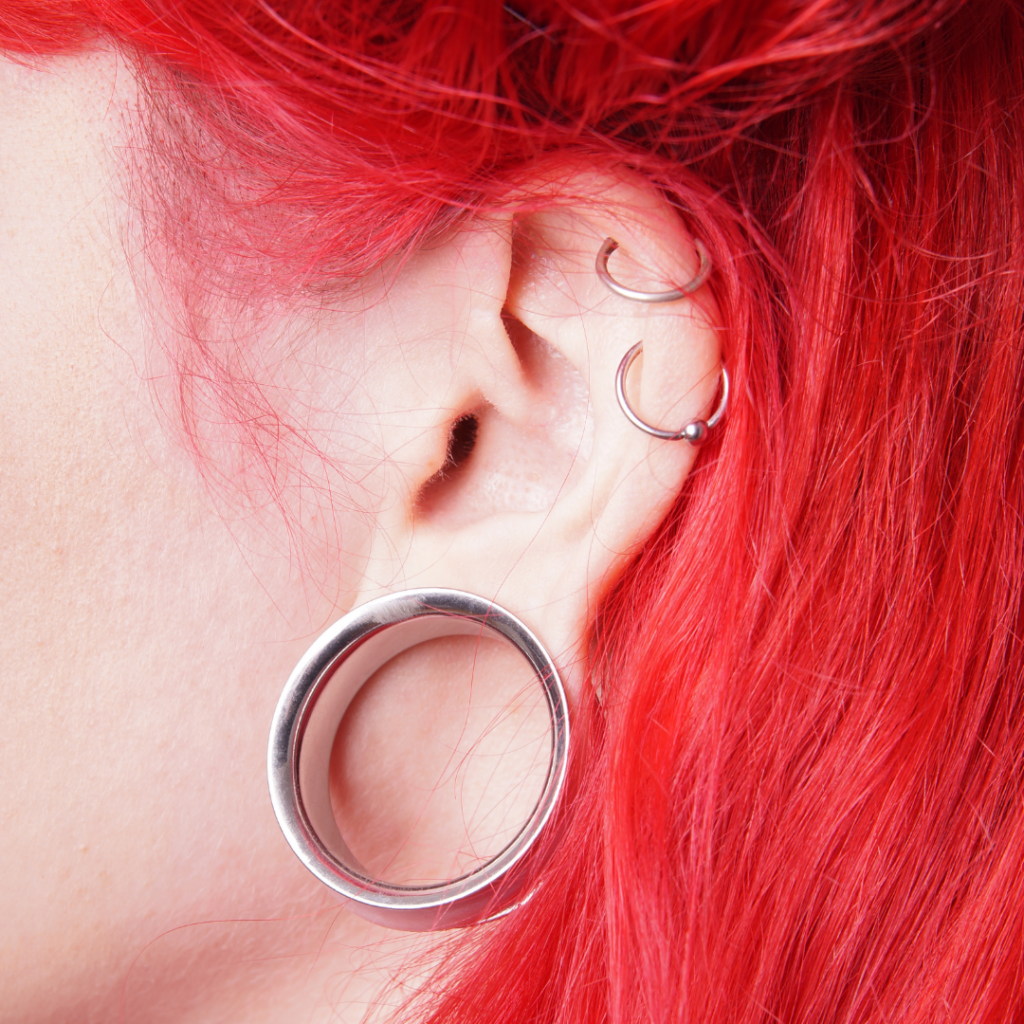
Skin Surface Piercings
For ear, cartilage, eyebrow, nose, nipple, dermal, or any other skin surface piercings, aftercare is pretty much the same across the board—hands off unless they’re clean. Only touch your piercing when applying aftercare to avoid introducing bacteria.
One extra step that can help with healthy healing and scar prevention? Oil application (this is especially helpful for preventing scars). Tea tree oil is great for reducing irritation, inflammation, and even has antibacterial properties. However, it can have a drying effect on fresh piercings, so it’s best to use it alongside your regular aftercare routine rather than as a replacement.
A little goes a long way in keeping your piercing happy and healing! For a complete rundown, read “Eyebrow Piercing Tips: Aftercare, Eyebrow Rings & More.”
Genital Piercings
Cleanliness is absolutely crucial when it comes to genital piercings—for obvious reasons, this is one area where you don’t want any complications (or scars).
Just like with other piercings, no touching. Be sure to avoid “playing” with your jewelry—pun intended. But in addition to your regular aftercare routine, using silicone gel or sheets can help prevent scarring, discoloration, and keep the area moisturized:
- Silicone gel — Available over the counter; apply to the piercing area twice a day.
- Silicone sheets — Can be cut to fit your piercing and worn for extended periods for extra protection.
Also, be extra careful to avoid snagging or bumping your piercing—it’s a sensitive area, and accidental tugs can be seriously painful. And yes, a little patience goes a long way—holding off on sexual activity until the swelling is down and healing is well underway is a smart move. Your future self will thank you.
More on How to Prevent Scarring
With the right care, you can keep your piercing looking smooth and healthy. Here’s how:
- Choose a reputable piercer — Always go to an experienced piercer who works in a clean, sterile environment. A good start means a better healing process.
- Follow aftercare instructions — Your piercer knows their stuff, so listen up. Stick to their recommendations in the days and weeks after your piercing. Future you will be grateful.
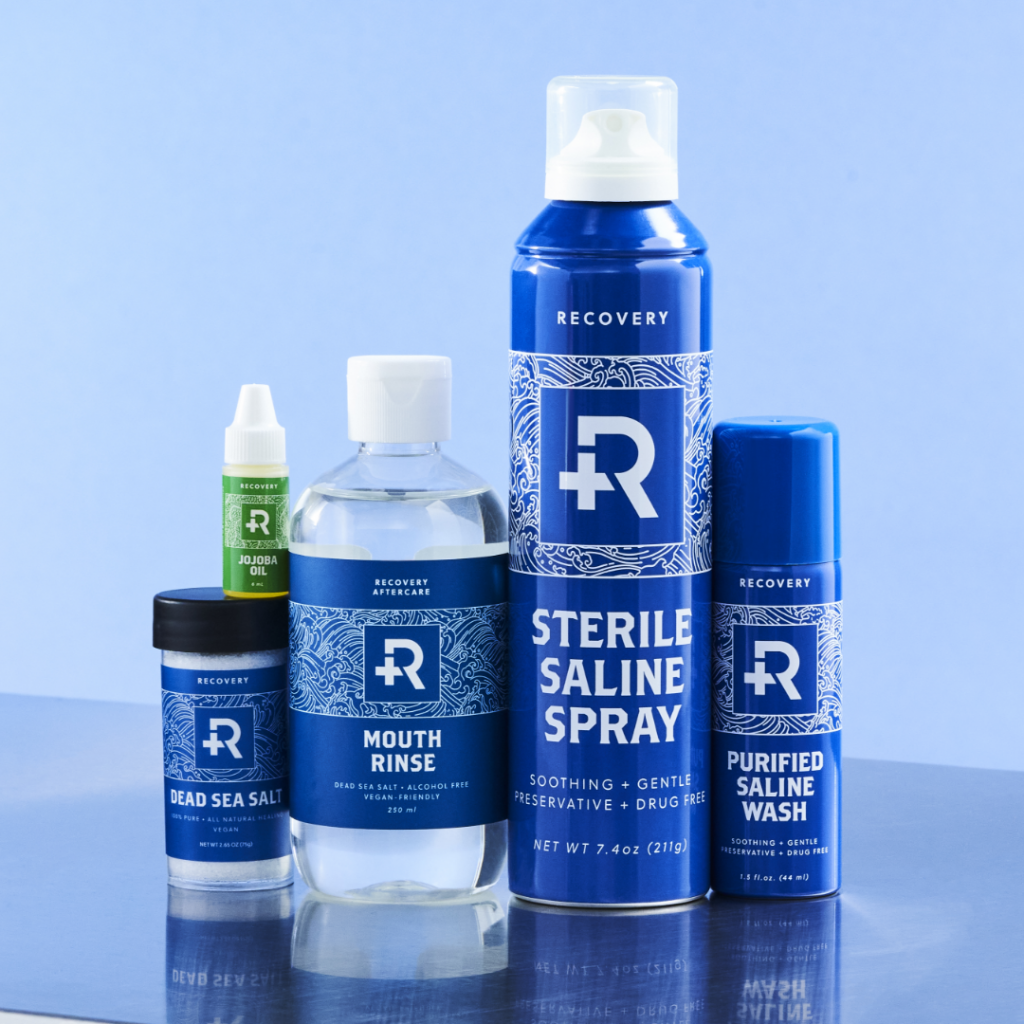
- Stay consistent with aftercare — Don’t slack on your routine! Soak your piercing in a sea salt solution at least twice a day for as long as your piercer advises.
More Lifestyle Changes That Promote Healing
Good aftercare isn’t just about cleaning your piercing—it’s also about making a few smart lifestyle tweaks. Some changes are temporary, while others can help you long-term. The better you take care of yourself, the better (and faster) your piercing will heal!
- Stay hydrated — Drink plenty of water every day. Dehydration can slow the healing process.
- Get enough sleep — Aim for 6–8 hours a night. Your body does its best healing while you rest!
- Eat a balanced diet — Load up on complex carbohydrates, green veggies, lean proteins, and fresh fruits to keep your immune system strong and help your piercing heal faster.
- Change your linens regularly — Bedsheets and pillowcases collect dust, bacteria, and who-knows-what-else that can irritate your piercing. Keep ‘em fresh (a weekly wash should do the trick).
- Avoid swimming — Avoid swimming until your piercing heals to keep bacteria out and prevent infections.
- Wear loose clothing — Tight clothes can snag your piercing, which is not only annoying but also painful.
- Don’t touch it! — As tempting as it is to touch your new piercing, only handle it when necessary—and always with clean hands.
Stick to these simple habits, and your piercing will be on the fast track to healing.

And That’s a Wrap!
Sticking to a solid aftercare routine, taking care of yourself, and keeping up with good hygiene are the keys to a smooth healing process. It might seem like a lot at first, but don’t stress—you’ve got this. Stay consistent, be patient, and before you know it, your piercing will be fully healed and ready to shine. Get ready to show it off and turn heads!


Comments are closed here.