Gear up for some Procreate magic that helps you nail tattoo design. This app isn’t just convenient—it’s a game-changer when it comes to creating tattoo stencils and designs. No matter how complex (or simple) your stencil is, Procreate has all the hacks you need to get them done efficiently. Let’s dig into some advanced Procreate tricks for nailing a tattoo design.
BREAKING DOWN THE BASICS
We’ll start with a quick overview of using Procreate, just in case you’re still green to the app. Already set with all this basic information? No sweat, scroll down to the “Creating Simple Outlines” and “Transforming Complex Photos” sections for direct application to tattoo stencil design.
Crafting Your Creative Oasis
Spruce up your iPad with a matte screen protector – it’s like old-school sketchbook paper but with a tech twist. That intimidation factor? We’re tossing it out the window. Your drawing experience just hit a whole new level.
Designing with Jedi-Level Organization
In the world of Procreate, organization is your secret weapon. To that end, stacks are invaluable when it comes to having all your designs and ideas in the right place: use them to sort your sketches, half-done masterpieces, and any completed stencil designs, all compiled into digital stacks for easy access. Quick access is key, especially when juggling multiple tattoo projects and client demands.
Unleash the Power of Layers
Layers are like the secret sauce in a killer tattoo design. They’re your building blocks for greatness. You can have countless layers in any given file, each one for every image you upload. Stack and arrange your layers to make your images and overlap to create your ideal stencil design.
Brushes: More Than Just Tracing Tools

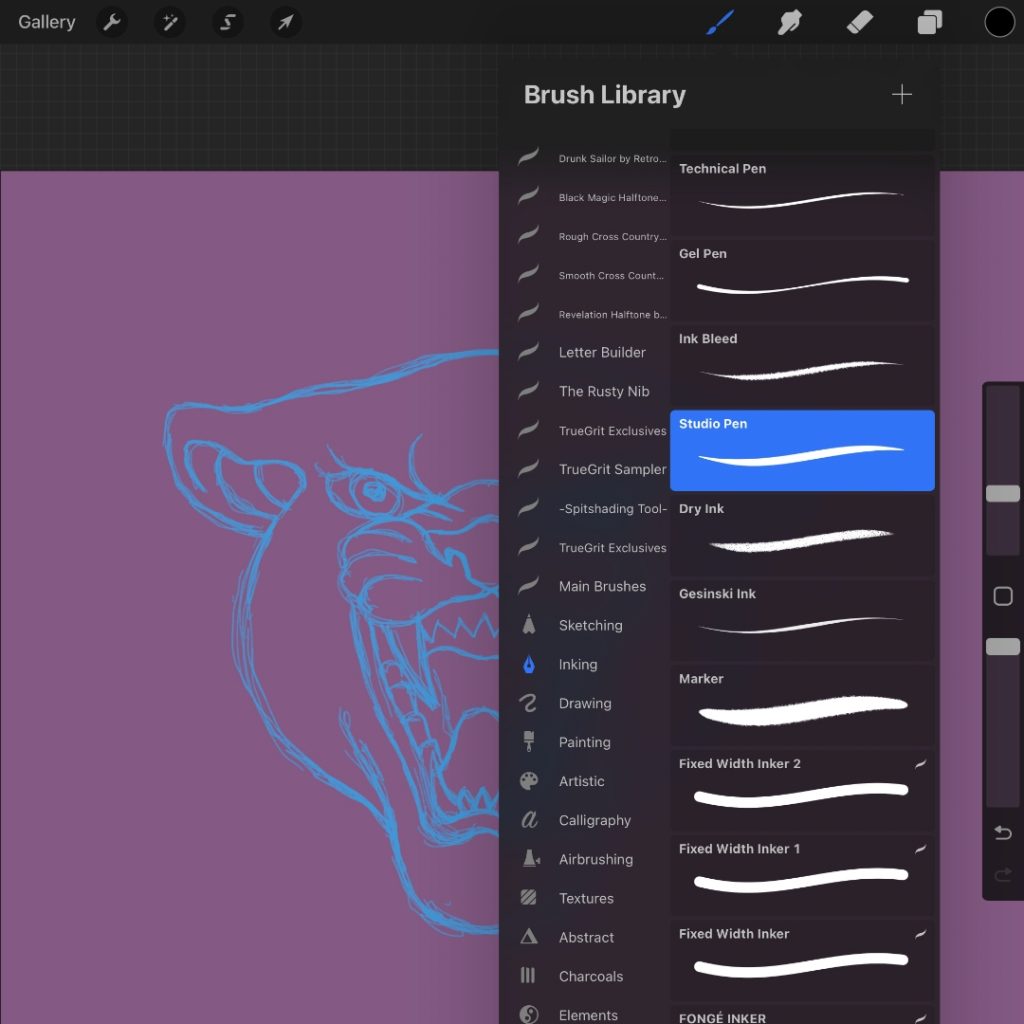
Tattoo design isn’t just about tracing. Procreate gives you a brush arsenal – 200+ strong. Dive in, experiment, and add that extra flair to make your designs truly stand out.
Shape and Size, Perfected
Precision is everything, right? Procreate’s got your back with quick shape tools for flawless circles and a touch-based size adjustment. Your tattoo game just leveled up.
Elevate Your Tattoo Artistry
Now, let’s shift gears seamlessly into the world of tattoo design using Procreate. We’re talking stencil outlines that’ll take your art to a whole new stratosphere.
CREATING SIMPLE OUTLINES FOR TATTOO STENCILS
Maybe you have a client who wants a basic tattoo that doesn’t require much detailing. Instead of doing any tracework, you can take a simple image and use Procreate to reduce it to a basic outline.
Step 1: Choose Your Image

Select the image you want to transform into a simple outline. Images that work best for this kind of process are very simple: Straightforward florals, numerals, phrases, etc.
Step 2: Create a Background Layer
Add a layer beneath your basic image and fill it with white.
Step 3: Merge Your Layers
Merge the image and background layers.
Step 4: Apply Gaussian Blur

Select your magic wand tool (or adjustments menu), then tap on the Gaussian Blur effect. Set Gaussian Blur to 3-4% to soften edges.
Step 5: Adjust Curves

Fine-tune curves to eliminate color or detail, leaving only the outline.
TRANSFORMING COMPLEX PHOTOS INTO TATTOO STENCILS
Let’s say you’re doing a photorealistic tattoo of an owl or lion—common, but much more involved. Procreate makes the stencil creation process simple for these more complex tattoos as well.
Step 1: Import and Desaturate
Import your photo and adjust your saturation levels to black and white.
Step 2: Duplicate Your Layers
Duplicate the black and white image layer.
Step 3: Color Dodge and Invert
Set the duplicated layer to “color dodge” and invert it. The image will disappear after inversion,
Step 4: Gaussian Blur
Select your magic wand tool (or adjustments menu), then tap on the Gaussian Blur effect. You can then adjust your slider to choose how much blur you’d like. As with the simple stencil creation, use 3 to 4 percent Gaussian Blur to reduce the detailed image to basic linework.
Step 5: Adjust Curves for Detail:
Some artists recommend this fifth step for an even more refined stencil. After applying Gaussian Blur, you can copy and paste the image, then use curves to enhance contrast and detail for intricate linework.
OTHER CONSIDERATIONS FOR TATTOO DESIGN
Think about issues that might crop up while you tattoo… especially if your design isn’t tracework. For instance, if you’re a black and gray artist in particular, you may want to heighten the contrast in your images based on how you want the piece to look when it’s done. As mentioned above, adjusting the curves allows you to darken and sharpen your image’s contrast and make it more attuned to the final look you’re going for once you place your needles to your client’s skin.
Ready to Create?
Procreate opens up a world of possibilities for you. By incorporating these detailed tips into your workflow, you’ll not only master stencil creation but also elevate your tattoo artistry to new heights. Dive into the intricacies of Procreate and watch your creativity flourish effortlessly on the digital canvas. You can learn more about the general tattoo stencil making process in our blog “Tattoo Stencils: Tips, Tricks, and Techniques from the Pros.” Good luck creating your best stencils yet!


Comments are closed here.