 Tattoo thermal copiers and thermal tattoo printers are helpful tools for creating tattoo stencils. We offer two types of thermal tattoo stencil printers, including our own Precision Portable Tattoo Thermal Copier and the ReproFX Spirit™ Pocketjet Burner thermal printer kit. You can use either one to make reverse image stencils that you can transfer onto a client’s skin to create a traceable outline of their chosen tattoo design. Learn how to use each of the thermal copiers we offer by reviewing the instructions below and watching the demonstration videos shown.
Using Your Precision Portable Tattoo Thermal Copier
What You’ll Need:
 A Precision Portable Thermal Copier
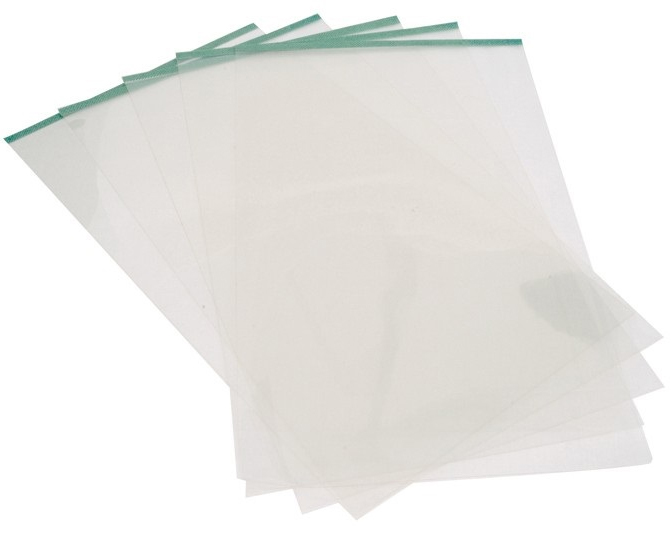
 - Thermal Copier Paper
- A 110v or 220v Power Cable (included with copier)
- Tattoo Gloves
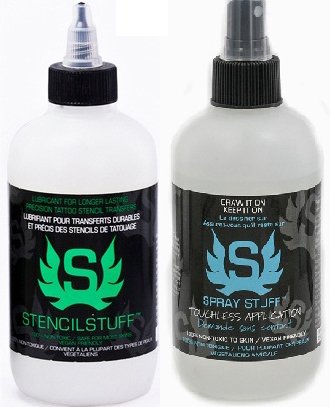
- Stencil Stuff or Another Tattoo Stencil Transfer Product
- Replacement Parts Like Bulbs (as needed)
Precision Tattoo Thermal Copier Instructions:
- Plug the copier into a power outlet.
- Pull out a thermal copier paper packet from the package. It will containt a yellow sheet, a brown sheet sometimes referred to as the “onion”, and a carbon sheet all connected together.
- Open the lid of the tattoo thermal copier.
- Remove the brown “onion” sheet from between the carbon and yellow sheet.
- Grab just the yellow sheet from the remaining 2 sheets in the thermal paper packet, and feed it through the opening
 in the bottom of the copier’s lid from the back of the machine forward until it’s laying over top of the core of the copier.
 - From behind the machine, look to make sure the purple carbon is facing down. If it isn’t, remove the yellow sheet, flip the packet over, and reinsert it into the copier lid’s opening.
- Pull the yellow sheet through the rest of the way until the crease of the paper (where it attaches to the carbon sheet) lines up with the edge of the lid as you close it.
- Lock the lid closed, and then fold back the yellow sheet, so that it lays over top of the thermal copier lid.
- Take a printout of your tattoo design, and feed it face-down into the slot in front of the copier’s lid.
- Press the “Copy” button on the machine.
- Peel back the carbon layer from the thermal copier paper packet, and voila! You now have a reverse copy of your tattoo design that you can apply to your client’s skin (once you’ve put on gloves) using a tattoo stencil transfer product like Stencil Stuff.
Using Your ReproFX Spirit™ Pocketjet Burner Thermal Printer
What You’ll Need:
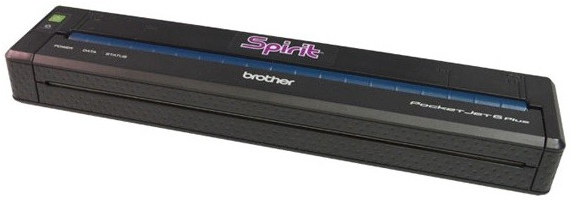
- A ReproFX SpiritTM Pocketjet Burner Thermal Tattoo Printer Kit
- SpiritTM Classic or Green Tattoo Thermal Printer Paper
 (1 box of 11″ classic paper & 1 box of 11″ green paper included with kit)
 - A USB Cable (included in kit)
- A US 110V/AC Adapter Cord (included in kit)
- Spirit™/Brother®-Developed Driver for Your PC (included with kit)
- A Personal Computer
- Tattoo Gloves
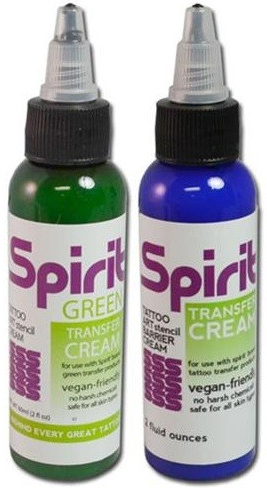
- Spirit Classic or Green Stencil Transfer Cream (1 bottle of each included with kit)
ReproFX Spirit Pocketjet Burner Thermal Tattoo Printer Instructions:
- Connect your ReproFX Spirit Pocketjet Burner into a power outlet, and connect it to your PC via the USB cable included in the kit.
- Pull up your graphic image file on your PC. Reverse the image horizontally so that it prints backwards and displays properly once applied to your client’s skin.
- Remove either a classic or green Spirit thermal copier paper packet from its box.

- Fold the yellow sheet backwards along the perforated line, crease it, and then carefully tear off the yellow sheet.
- Remove the protective cover from the purple sheet of carbon paper, and throw it away. You should be left with a carbon sheet attached to a blank white sheet of paper.
- Feed the carbon paper sheet into the thermal tattoo printer face-down, so you see the white sheet attached to it from the top. The edge of the paper printed with “Made in the USA” is the preferred side to feed into the printer.
- Send your reversed tattoo design to the printer from your PC by selecting the “Print” option like you would with any other printer.
- Once the image has printed, remove the carbon sheet from the white sheet containing your tattoo design. You now have a reverse copy of your tattoo design that you can apply to your client’s skin.
- Cut out the tattoo stencil to make it as manageable as possible, so that you can line it up more carefully before sticking it to your client’s skin.
- Put on a pair of gloves, and apply either classic or green Spirit Stencil Transfer Cream to your client’s skin, depending on the type of Spirit thermal paper you used to print your tattoo design.
- Apply the cutout tattoo stencil over top of the transfer cream, with the carbon outline side facing down, and press gently until the paper fully absorbs the transfer cream.
- Pull back the paper, and your tattoo stencil is ready! You can now begin tattooing.
Other Helpful Tattoo Stencil Tools
 We offer a variety of other tattoo stencil tools that you may find useful in conjunction with your Precision portable tattoo thermal copier or ReproFX Spirit Pocketjet Burner thermal tattoo printer. Check out our extensive selection of flash art, tattoo stencil transfer products, sterile tattoo pen machines that you can use to hand draw on accents and additions to your printed tattoo stencils, tattoo light boxes, and thermal tattoo printer and thermal copier replacement parts. We also now offer Wacom tablets and pens that make creating tattoo stencils easier than ever before. You can get a drawing tablet that connects to a PC so you can see your designs on-screen as you create them, or you can get a Wacom tablet with a full graphical user interface incorporated into it. Use your Wacom tablet and pen to create perfectly-fitting tattoo stencils by overlaying your digital tattoo designs over photos of the body parts you’re going to tattoo and adjusting them digitally as necessary. Learn more about Wacom tablets and pens in our Wacom Tablets Bring Tattooing into the Digital Age article.
Note: All product links in this article point to our Wholesale Store, where tattoo artists and shop owners spending $100-$499.99 per order can take advantage of the discounted prices we offer exclusively to industry professionals. Those spending $500 or more per order should shop in our Distributor Store to enjoy the lowest prices we offer industry professionals. When placing orders under $100, please shop in our Retail Store. For additional savings, purchase products with tiered bulk pricing in the quantities indicated on each product detail page. You can also sign up for our weekly newsletters to get coupons and other special offers delivered right to your inbox. Just visit your preferred store (Retail | Wholesale | Distributor), scroll to the bottom-right corner of any page, and enter your email address where indicated to subscribe.

